Okay, so you’ve done your homework and now you’re wondering how the rest of your journey will look. Let’s dive into the next part of what you can expect for your handcycling race.
Getting there
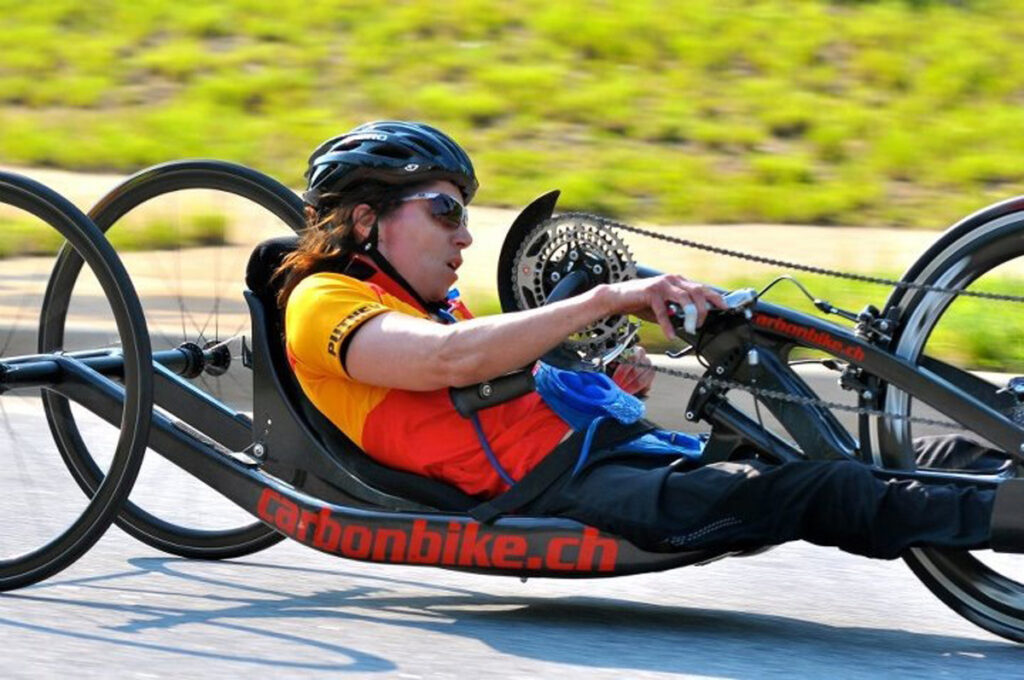
Traveling with a handcycle can be a challenge, but is certainly possible. There are a few options, depending on your situation. If you’re within driving distance, you can likely load it in your car or van – with some amount of disassembly for adequate fit – and hit the road. Sometimes simply removing the wheels and draft bar is enough, along with removing or putting seats down in your vehicle. Otherwise, you may need to disassemble the fork from the frame as well. It may seem daunting the first few times, but it’s a task that becomes less of a big deal once you get used to it. Make sure you have all the tools and parts you need to get it together again at your destination.
Another option is flying. For this, you’ll need to package your handcycle in a way that will ensure adequate protection from the notoriously rough handling of airlines. The 2 most familiar options are a “quick and easy” solution – loads of bubble wrap – and a more expensive and thought out, but ultimately more long lasting and protective solution – the box or case. If going the bubble wrap route, make sure you have several layers around your frame, some straps or sturdy tape around the whole thing, a “Fragile” sticker…you get the idea. A good idea is to carry the wheels in separate bicycle wheel travel bags, available online. Note that, if you have 20” rear wheels, 2 of them (or even more, if you’re carrying spares) can fit into a regular bicycle wheel-sized bag; just be sure to either wrap them individually with bubble wrap, or layer them with padding of some kind for extra protection. The same goes for your drive wheel – extra padding, particularly around the cassette, is important.
If you want to find or make a box large and sturdy enough to fit your bike, first break it down into its smallest possible configuration, removing the wheels and draft bar, and strapping the fork to the bed of the frame, so they form one, compact unit. Position the crank arms in line with the fork (you can use a zip tie, strap, or other fastener around the chain, near the chainrings, to keep them from flopping around.) Measure the length, width and height to give yourself an idea of the dimensions you’ll need. An option here, too, is to buy separate wheel bags, thereby decreasing your overall space requirement – though the shape of a rectangular box can often leave empty, unused space that can sometimes be filled with a wheel (or even up to 3). Handcyclists have bought, built or commissioned all sorts of cases or boxes; there remains to be seen a hard travel case specifically designed for handcycles on the market. From corrugated plastic sheeting to super thick cardboard, and any combination of these or other materials, a lot has been tried. Some have found bicycle cases large enough to accommodate their handcycle (the Thule RoundTrip Transition is a common choice but is expensive). Whether you build your own or purchase something ready made and then modify it, it should be durable, as lightweight as possible have wheels for easier transport through the airport, and a lid that locks well. Make sure your bike and all loose parts are well secured inside, and use bubble wrap and/or foam to protect especially sensitive areas, like your derailleur. Taking the chain off, or at least securing it tightly so that it doesn’t get hopelessly tangled and your cranks stay in one place is also a good idea.
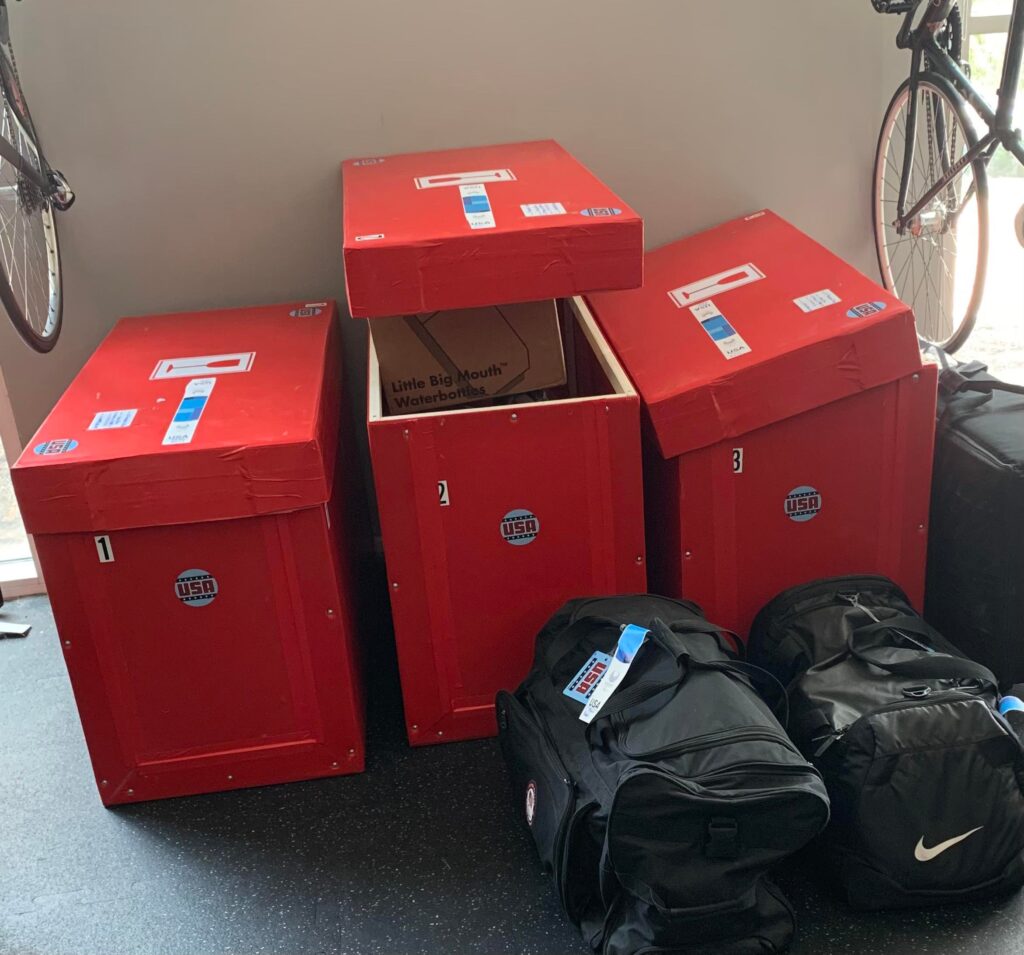
When you check in with the airline, tell them your bike/wheels are “adaptive equipment “ or be ready to pay a heavy fee. Adaptive equipment flies for free on any major US airline. If you’re asked more specifically if it’s a “bike”, or “what is it?” telling them it’s a wheelchair is ok. Really.
A final tip is to purchase an AirTag or similar tracking device for your handcycle – airlines “lose” them occasionally, and even though they’re usually delivered to you later that day or the next, particularly if you’re headed to a competition, not having your bike right away can be stressful.
Note: Airlines typically will charge a fee for anything over 50 lbs – unless you tell them it’s “adaptive equipment”. They also might not accept it if it’s over 70 lbs; this seems to depend on the size of the aircraft and how rigidly they are adhering to their policies. At your own risk! This is another reason to consider packing wheels in separate bags; also, packing smaller, heavy items like tools and spare parts in your duffel or suitcase (or with the wheels) can help distribute weight more advantageously.
Race prep
Hopefully you’ve figured out the whole rental car/van situation or have otherwise made your way to a nice, accessible hotel or Airbnb near the race venue. Hopefully, you’ve also arrived at least a day or two in advance of race day. This gives you time to rest, build your bike, preview the race course, connect with other racers, and collect your race packet.
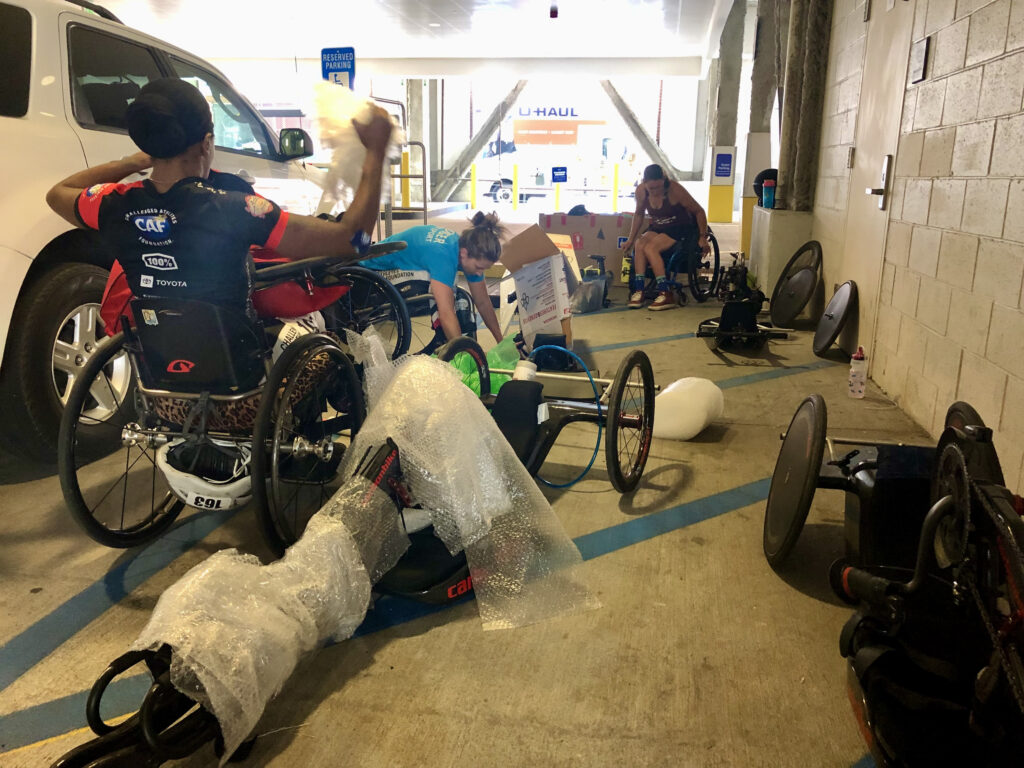
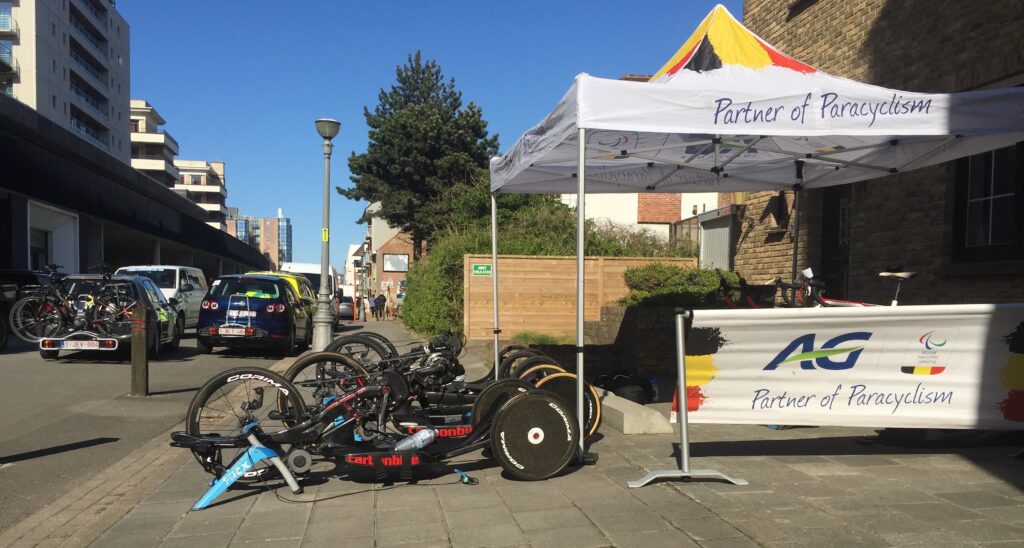
Putting your bike together should be done as soon as possible upon your arrival, to catch any last-minute surprises with potentially damaged parts or forgotten items. The hotel or AirBnB parking lot usually works fine for this, and there may even be a covered area in case the weather’s bad. Otherwise, hotel staff are usually agreeable if you ask politely to use a quiet corner of their lobby for this job, and they may even have a storage area for your bike box. Pool deck chairs, patio benches, or the back of your rental vehicle are all potentially helpful for raising up your work area for better access. Just be sure to clean up after yourself!
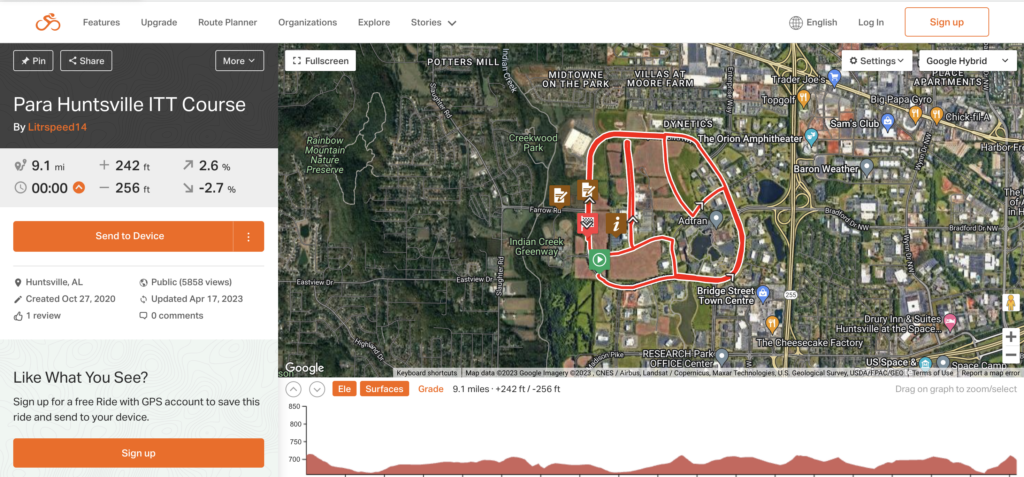
A preview ride, or “recon” of the course is best, but if weather, time, or other factors preclude riding, then driving it is the next best option. A course map is usually available on the race website. Sometimes, these maps are a simple graphic: the route itself is shown with an elevation profile at the bottom (Tokyo TT Map pic). Other times, a map is presented on a race website as a Ride with GPS link. (HuntsvilleMapsLinks pic) Clicking on it will take you to the Ride with GPS app, where you can see a more interactive version of the map – drag your cursor along the elevation profile at the bottom of the screen, for example, and it will simultaneously lead you around the course map, allowing you to see exactly where on the course the elevation changes occur. Signing up for a free account with the app allows you to save the route and send it to your Garmin, Wahoo, or other head unit, for turn by turn directions as you ride. Ride with GPS is a super helpful app to use for reconning race courses, as well as plotting training rides.
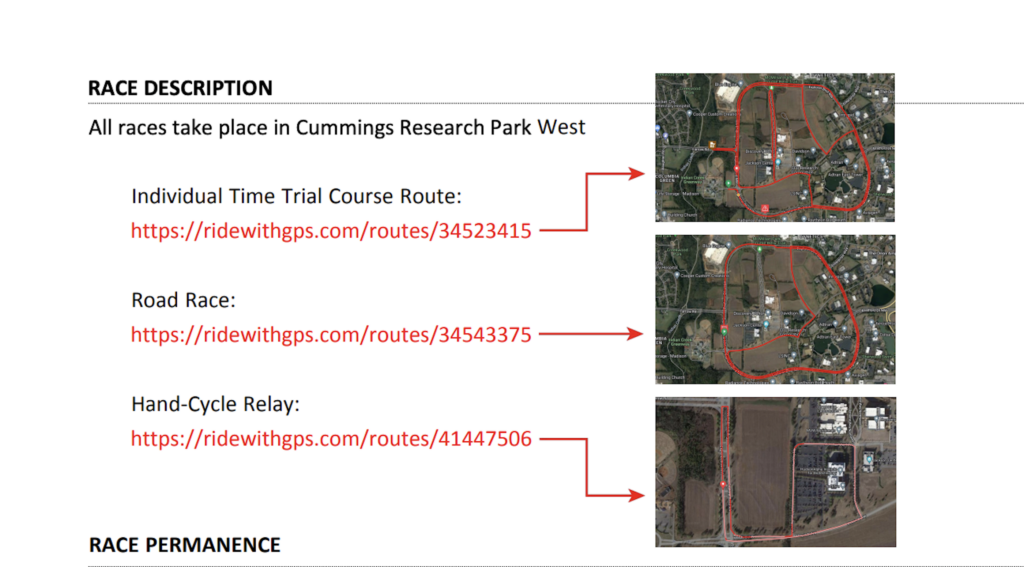
When preview riding the course, make sure you have a safety flag, at a minimum, securely fixed to your draft bar or elsewhere on the rear of your frame. A bright bicycle tail light and even a bike headlight in addition to the flag, are even better – the course will likely not be closed, or semi-closed, to traffic til race day! Familiarize yourself with the start/finish area, any turns, and significant climbs or descents. Think about what are the best lines through corners, where there might be bad pavement or loose gravel to avoid, where you might get shelter from wind, etc.
If there is a race meeting, make sure to be there, listen and ask questions. Pick up your race packet (number, timing chip, swag) by showing a screenshot of your valid USA Cycling race license (if required). It’s a good idea to check the weather forecast for race day and pack your race bag with appropriate clothing and gear, the night before. Set it all out where you will be sure to see it and not forget anything on your way out the door.
Race Day
On race day morning, it’s a good idea to get a good breakfast with plenty of carbohydrates to fuel your big day. Try to eat this at least 3 hours before your start time so that you have time to digest it well. If your start time is super early, eating a bar, some oatmeal, or something lighter 60-90 minutes before is ok, too. Plan to arrive at the venue 1.5 – 2 hrs before your start time, to give yourself adequate time for preparation. You may need to assemble your bike, put on race wheels if you have them, make sure your draft bar is on, footrests tightened, and check that your brakes and derailleur are all working well. You’ll need time to visit the bathroom (and likely sit in line for it), pin on your numbers, fill your water bottle or hydration bladder, and choose your gels, bars, chews or whatever nutrition you want for just before the start (and if it’s a longer race, for some point mid-race as well).
Finally, you’ll also need time for a warm up, to get your body primed for the effort ahead. This is also a last-minute opportunity to recognize any mechanical or other issues with bike/body functioning you may have missed, as riding can make details that aren’t at first obvious rise to the surface. (The pad you placed behind your neck isn’t quite secure; your hydration hose isn’t securely attached to the bladder so you can’t draw fluid, your shifter battery is flashing red, etc). If you do notice any of these details, try to get them addressed immediately – what feels sketchy or inadequate but “passable” in a training ride is likely to get worse and cause problems in a race. If you have a stationary trainer or rollers, warming up can be done right there in the parking lot; if not, find a side street that’s relatively free of cars, a large open parking lot, or some combination of those to get in 30 minutes or so of riding. You may have a structured warm up to follow, given to you by a coach; if not, just ride at an easy to moderate pace, and throw in some short, hard efforts to get your heart, lungs and muscles “opened up”. Keep an eye on your watch or bike computer for time; you’ll want to arrive at the Start line 10-15 minutes before your start time.
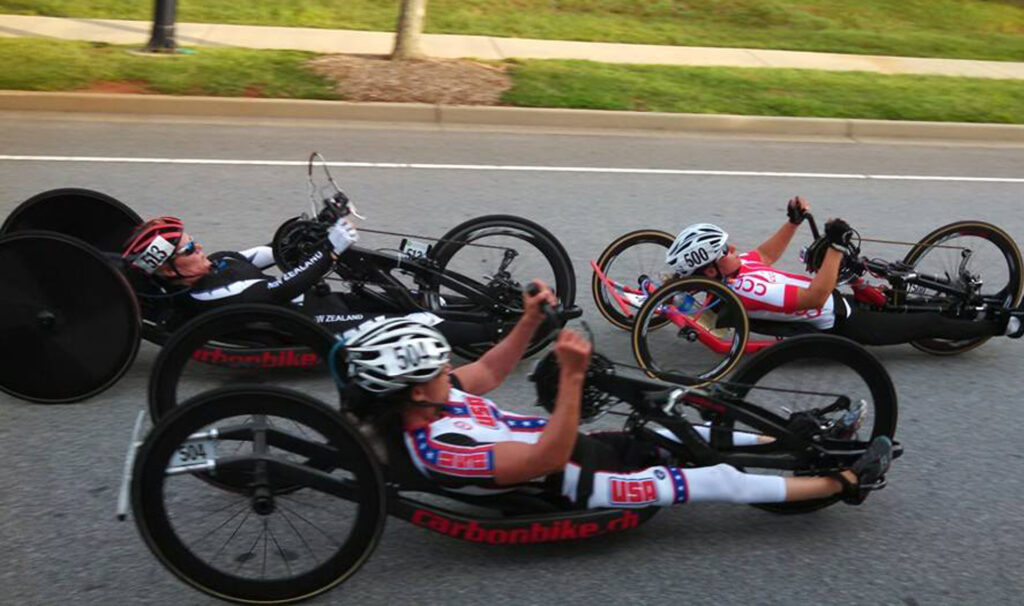
In USA Cycling and US Paralympics Cycling sanctioned races, a bike check is often a mandatory step as you queue up for your start (usually just in the TT, though sometimes for the RR as well). A USA Cycling official will check that you have a mirror (required for all events but the time trial); that your eye line is level with or above your bottom bracket (cranks); that your draft bar is on and the right distance from the rear wheels and height from the ground, and possibly other points. If you haven’t radically adjusted anything from when you got your bike from the manufacturer, this should all be fine. In most cases, if there’s an issue, they’ll give you a warning, so as not to prevent you from racing (especially if you tell them it’s your first race). If you’re curious about these particular equipment rules, you can read up on them on the UCI website (UCI Cycling Regulations, Part XVI, Paracycling): https://www.uci.org/regulations/3MyLDDrwJCJJ0BGGOFzOat
Butterflies just before the start are a common experience, and are a signal that you’re ready to “fight”. Take some deep breaths to calm your system and focus your mind on the task ahead. When it’s time to “Go”, give it all you’ve got, knowing that it will hurt to do so. The rewards are proportionate to the effort you give – racing is an incredible tool for growth, on all levels.
If you get a mechanical problem during the race, depending on the nature of it, just try to make do and keep going, if you can. If it’s a flat tire, you may be out of luck; though in the case of a circuit-style road race or criterium, having someone at the Start-Finish area with a spare wheel can be an option for a “quick” change.
Wrapping it all up
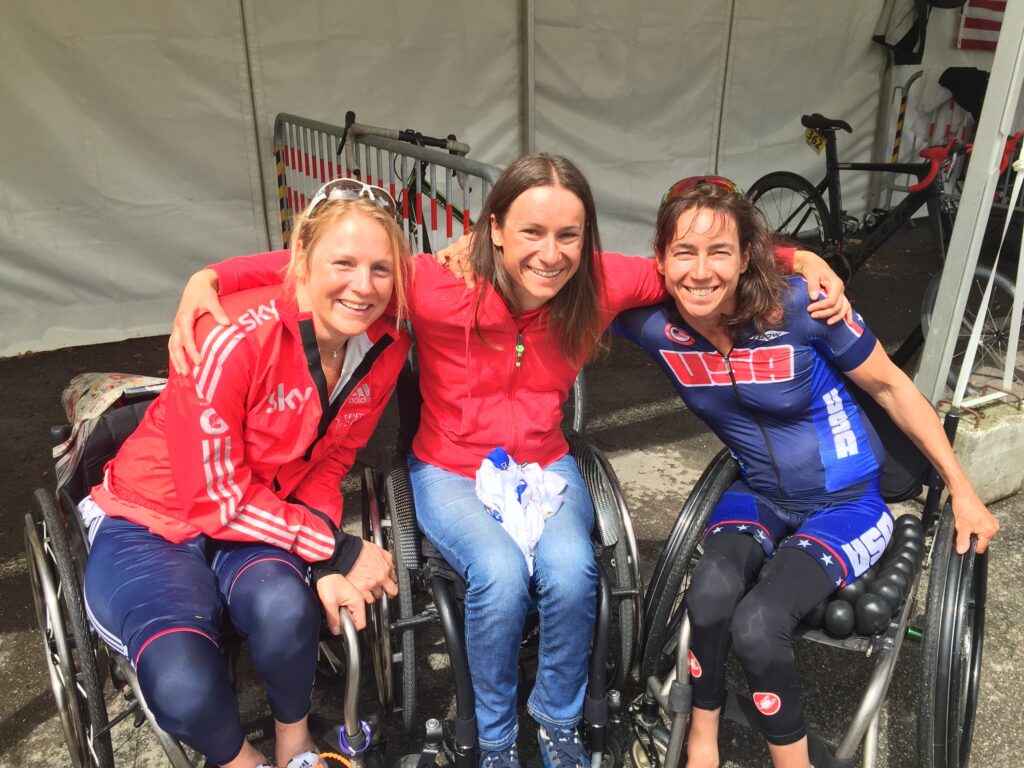
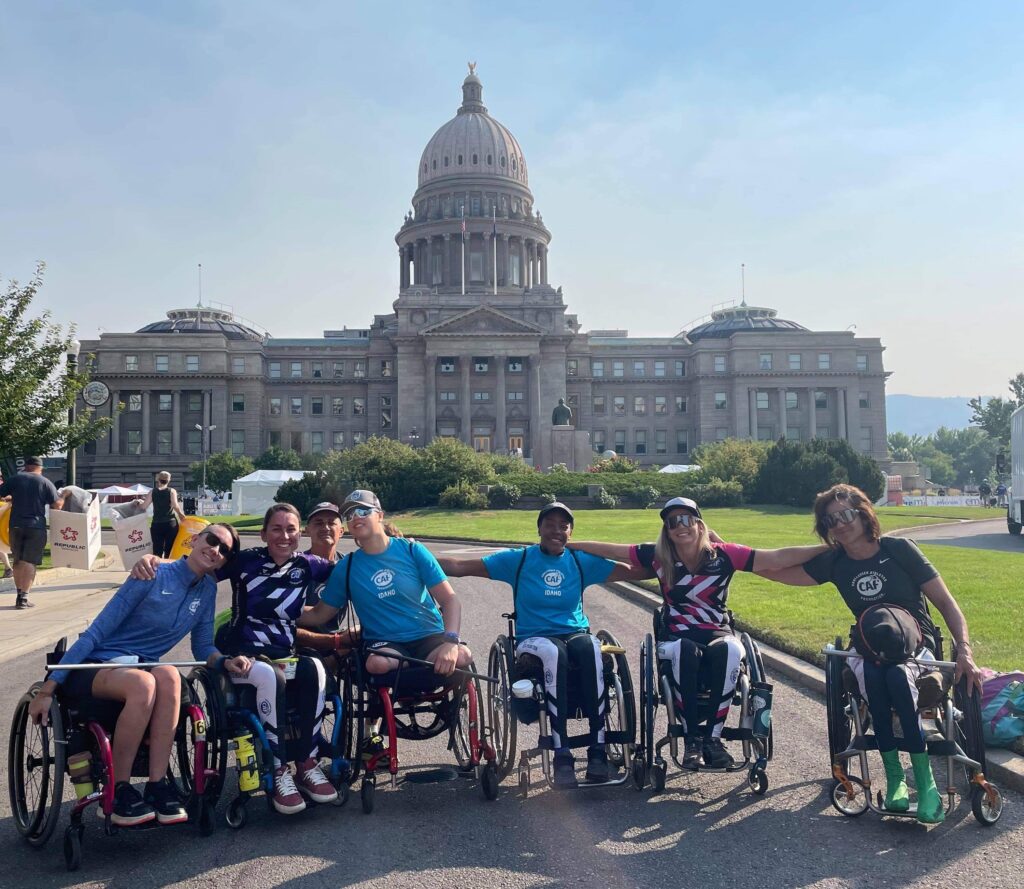
That’s it! The only other piece, of course, is to have fun. It can be a blast to hang out with a bunch of other handcyclists and wheelchair users, swap stories, share equipment tips and tricks, and compete together. No matter your result, congratulate yourself for having conquered the many steps involved even just to get to the start line, let alone complete the race! Results can be exciting or disappointing; truly, they’re best regarded as no more than a checkpoint on your fitness and goals, useful information to take back home with you. (Remember to not take your timing chip back home with you, however, or you’ll incur a fine!) For myself, racing is about so much more than the competition (though I’ve always been a pretty serious competitor). Having a community of like-minded and like-bodied peers (who are all just different enough to keep it interesting, of course!) has been a huge benefit alongside the physical and mental fitness I’ve developed from handcycle racing. I’ve learned so much from other handcyclists I’ve met through racing, and I’ve leaned on some of them for support, with equipment, with training and racing information and opportunities, and more. It’s a unique and interesting group to be a part of, and it has kept me at it for over 10 years. I hope that you, too, will give this sport a try, at whatever level feels comfortable and right for you.
Happy racing!
